Finally, a natural foundation that won't accentuate fine lines or wrinkles and looks like your own skin.
TRANSCRIPT
Hi guys, today I'm doing something different, so I'm using a model who is my mum (thanks, Mal Zee!) and I'm using products from the Adorn Cosmetics range.
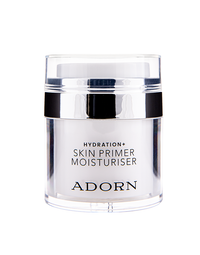
1. Prepskin With Primer and Mosturiser
So, I'm starting with the hydration and skin primer and moisturizer, and I am just using my hands and I'm just rubbing that all into the skin just to give some nice hydration and, you know, a layer between the skin and the foundation to give a beautiful fresh finish. So, for someone like my mom, it's all about keeping the skin nice and fresh and giving a nice healthy glow, and not using too much thick, heavy products.
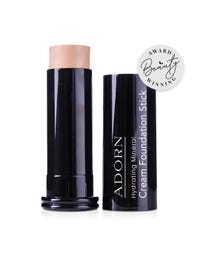
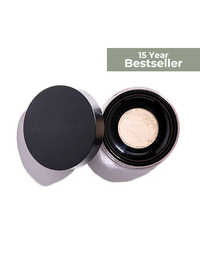
2. Using the Best Foundation for Mature Skin
For foundation, I'm using the hydrating cream mineral foundation, and I am using the kabuki brush to buff that into the skin. I'm not doing a lot of product, I'm just buffing in a really thin layer just to even out the skin tone and cover any sort of pigmentation that she has.
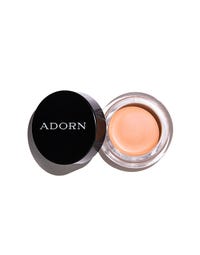
3. Apply Under Eye Concealer
Okay, so now I'm going in with the peachy sleep corrective concealer. I'm using this under the eye area as well as on the eyelids just to take out any of the pigment that we have and just to give a nice base for the eyelids ready to go for my eyeshadows. So, I'm using my finger to apply that. I apply my under-eye concealer usually with the finger just so that the warmth of your finger can really help to buff or melt the product into the skin, rather than just have it sit on top and go creepy, so the finger just really sort of settles it in nicely and it minimizes any lines in peach.
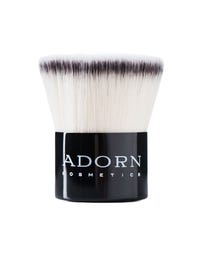
4. Use Kabuki Brush
And now using the kabuki again and the loose mineral foundation, I'm just going to use a very small amount of product just to set everything. I'm not so much using it for extra coverage; I am just using it to set everything that we've done, so a very, very small amount of product buffing it into the foundation there.
So now I'm going in with the brow to find mineral brow dust, and this is in the color medium. I'm just going to take a clean spoolie and brush out the brows, and then using an angled brush just apply the brow powder to the brows. I usually start on the inner corner and then on the underneath of the brow and then buff the product through and just build up the brows to give a little bit more of a fuller but still a natural look, and I'm continually combing the spoolie through just to make sure that it's nice and even and soft without looking too fake, but I am thickening the brows up than what they naturally are.
5. Applying Eyeshadow for mature skin
And now I'm just taking the loose mineral eyeshadow in the color base. It's just a nice and natural, non-shimmery pigment just to set the eyelids there, and I'm just buffing that in with a clean fluffy brush just to set the eyelids ready to go before we do any shadows.
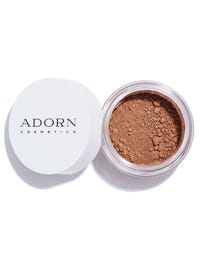
And first off, I'm going to use the face and body mineral bronzer, and this is in the color autumn. So, I am going to use this on the outer corner of the eye just to create some shape and definition. This makeup is not about going over the top; it's just a nice, natural, fresh day look, so this can be worn at any age. But I just want to really buff it in the outer corners of the eye into the socket line just to create a bit of shape and definition to the eye, and making sure everything is really soft and buffed and blended in.
And now, I'm going to go in with the chubby eyeliner in smoky quartz and I'm just going to apply this to the outer half of the upper eyelids. Then, I'm going to go in with a more tapered brush and using that autumn-facing body bronzer, I'm just gonna smudge over that chubby eyeliner just to blend and soften. I don't want it to look like a real eyeliner look; I just want it really smoky and buffed out just to create that little bit of definition along the lash line. I love the bronzer because you can use it on the body, on the face, and as your traditional bronzer, or as your eyeshadow, and I use it for eyeshadow quite a lot. So now, I'm taking the chubby eyeliner on an angled brush. I just wanted a little bit more tapered and defined, and that's why I'm using the smaller brush rather than using the actual pencil on the lower lash line. Again, just taking my tapered fluffy brush and buffing that out and setting it with the bronzer. This just creates a bit of balance when you do it on the lower lash line as well. I don't want it to be too top-heavy. Okay, and now I'm going in with the intensity of mineral loose eyeshadow, and this is in the color unity. For this, I just want a really soft pop and highlight in the center of the eye. So, I'm just taking my time to add a little bit of product at a time. I really don't want this to be a full shimmery look. I just want a really soft, subtle highlight in the center of the lid there. So, just using my big fluffy brush as I always do, just to have a nice natural finish.
6. Apply Mascara
And mascara, waterproof mascara, there in black. Starting with the bottom lashes and then going in and doing the top lashes. I case it, going back to the bronzer, I am just going to use this to warm up the face and give a nice subtle contour. Obviously, we don't want a lot of contouring, but I just want to add a little bit more definition into these sides of the nose, the cheekbones, the temples, and just along the jawline. I'm really conscious of not overdoing it, so again, I'm just using a small amount of product and building it up where we need to, rather than going in too heavy too fast. It pays to just softly build it up so that you don't end up looking a little bit dirty or muddy. You just want that really healthy, fresh, and glowy look to the skin without it being too over-the-top. So even though you can see that Mozzy has a natural glow coming through to our skin, I do just want to add a little bit of the mineral illuminizer to the tops of the cheekbones, the center of the nose, a little bit to the Cupid's bow in the center of the face. Again, I don't want to use a lot of product. She already has that glow there. I just want to accentuate the high points in the center of the face by adding that soft little extra warmth and illuminating there just to highlight the high points of the face. And I don't want a big strobing look. I just want this to be very, very natural.
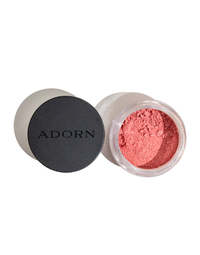
7. Rosy Cheek blush & Final Lipstick Touch
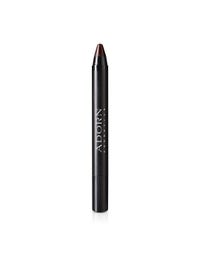
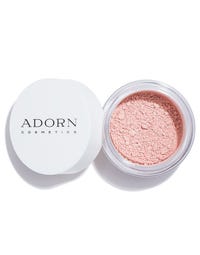
And now I'm going in with the loose mineral blush, and this is in the color summer, just to add a little bit of a rosy cheek flush to the skin. And I also feel like this just adds a little bit of life as well, so you've got the warmth of the bronzer, but you need just that little pop of color just to give a really useful fresh finish to the face. And for lips, I'm going to use the style icons lipstick, and this is in the color Audrey, so I am using it with a lip brush, and I'm just going to play it directly to the lips. I'm using a flat-tipped brush so that I can get a nice sharp outline. I love this color. I use it all the time. It stays really well. It doesn't feather into any fine lines. It's just a beautiful lipstick, and it's non-drying. And the fact that it's got no nasties and it's toxic-free, you know, is a big plus. So that's what you want when you're looking for a lipstick. And the true color actually really brings out the blue in mum's eyes, so that's an extra big plus. And I'm going in with the style icons lip gloss in Kate, and I'm just going to add that to the center of the lips just for a little subtle shine and to create a little bit more fullness and a little bit of depth and definition.
So, you can see that at any age, makeup doesn't have to be too much as long as it's done right. We just want a really soft natural glow, and I think Mozzie has nailed it for me, so thanks heaps for being my model today, mum.