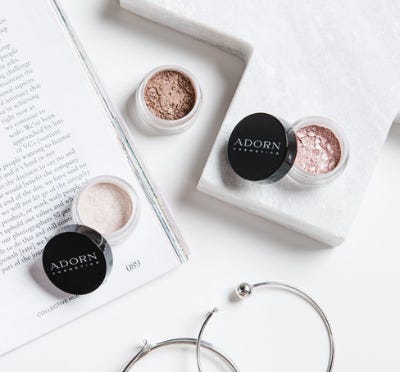
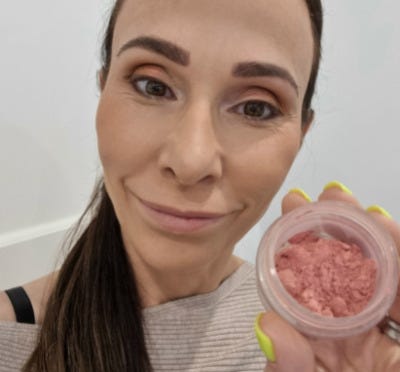
Briony's glowy summer makeup look using our Biodegradable Complexion Blender and hydrating cream colour cosmetics.
TRANSCRIPT
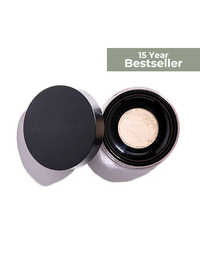
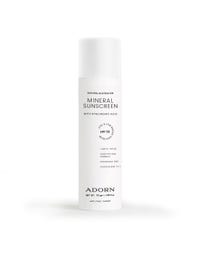
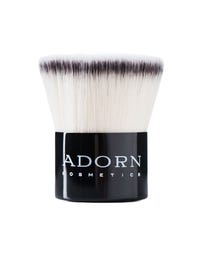
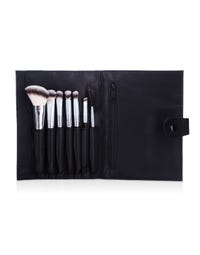
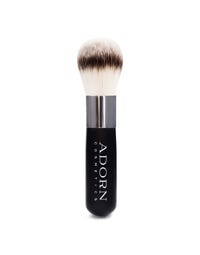
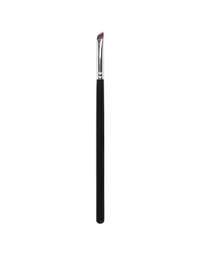
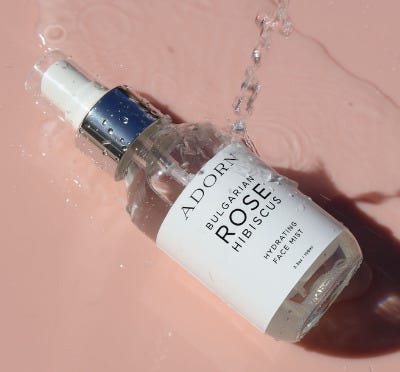
today i'm going to share with you my summer dewy glowy look it's using mostly creams but of course i will be using the loose mineral foundation because spf of course is super important during the warmer weather now i have prepped my skin with our primer you could use the brightening or the hydration plus depending on how dehydrated your skin is and the first step i'm going to use today is using the cream highlighter so what i'll do is pop a bit on my finger and then i'm going to pop that all around my forehead cheeks and under eyes it's great under the eyes if you're sunken in as it will give the illusion that that area is not as hollow as it actually is the luminescence to this will make things look bigger so why i'm putting this on now is because when i put my loose minerals on i want this highlighter to give a really nice dewy finish to my loose minerals especially if you love that dewy looking glow so again you can pop this all over your eyes your forehead and your cheeks you don't need to put it around your mouth area you can if you want to you could put it down your neck for a little bit of chewiness up to you okay so the next thing i'm going to do is pop the loose mineral foundation on and then i'm going to get started with all of the beautiful dewy colors you could actually just use this mineral highlight of the cream all by itself you can see it's given a really nice dewy finish to the skin and a hint of coverage okay so i'm using the loose minerals with the super popular kabuki brush you now when i applied the minerals i have applied them over my eyes we do need to put foundation around the eyes just so it gives a really nice even looking coverage we don't want to look too pale of course the foundation will also help with some discoloration you can see the red psoriasis i had under my eye that's even nearly been hidden just with the minerals on their own now i did use a pushing stippling motion to get a heavier coverage and of course i love to finish off with a little bit on my chest area the sun does hit us here so for me that is a super important area if you find your neck is quite light then of course pop some foundation down your neck why wouldn't you when you get that spf protection anyway now a little bit over the ears behind the ears of course as well because we can be a little bit white and pasty back there and why not pop a little bit on the backs of your hands especially if you're driving okay now the spf is 20 plus in that you can see how beautiful and dewy and glowy my skin is and all i've done is put the loose over the top of the cream highlighter a winning combination especially if you've got drier skin all right so now what we're going to do is moving on to concealing but first i want to show you our complexion blender this is our complexion blender it's a biodegradable material which is fantastic for the environment and it's a beautiful sponge if you like a really nice subtle look or a glow you can use it for your concealers you can use it for blush cream blushes of course your contouring any of the cream products it works super well even the liquid um foundation now the trick with this is to make sure that you use it damp now when you make it damp this is the size it actually increases double the size so it's really soft and bouncy of course you just wash it with your normal hand soap and rinse it out and dry it when it's getting a little dirty okay make sure these are stored in an area where they can get lots of air so that bacteria is not breeding in them okay so let's get started with concealing now i'm going to show you how to use this complexion blender to do concealing uh to also pop on your cream contour and your cream blush so here's the concealer beautiful cream consistency now you might want to use one of the brushes out of our seven piece brush kit or even our 15 piece brush kit to apply the concealers or you might even like to use the complexion blender okay so this number two brush is a really good one for popping on your concealer and we've also got a shorter one which i don't have in front of me but we'll just use this one here now focusing on the inner part of the eye so just this little c area here i don't like to pop concealer too much in this area because we tend to smile and this is where you get most of your creasing and of course your concealer will end up sitting or creasing in those areas now this is usually where the dark area is and even a little bit of redness maybe in this outer tear duct area and you may also like to use a bit of the concealer for the eye lid area if you wanted to help neutralize veins and discoloration and then of course we just need to set that down with the oil control setting powder it's a really quick way of doing a nude eye shadow as well making sure with your concealers that they match the skin tone perfectly you can afford to go a little bit lighter around the eyes not too much but a little lighter however if you've got puffiness you need to make sure that the concealer is an exact match because a lighter concealer will make that puffiness look larger and more prominent okay so i've placed the concealer in here and around my eyes on the outer ducts but you can see that i've just blended it down and out into this area but i did not place concealer there now if you've if you're needing a little bit more concealing on your face then by all means you know touch up the skin with a little bit of concealer you know you might want to just dab a tiny little bit on again making sure that the concealer is an exact match you don't want to go too light or it will make the pimples or the bumps look a little bit bigger so a little bit lighter around the eyes yes but on the skin we need that to be the exact match especially if you're covering raised areas if you're looking at something that's a bit more flat it's not so obvious but raised areas definitely now i also like to conceal the side of my nostrils as they're quite exposed and we can be quite veiny in there so we want this dewy summer beautiful look to look flawless you might want to help just conceal some of the larger pores again making sure that your concealer is a perfect match not lighter at all often the lighter concealers or lighter foundation will make your large pores stand out which we do not want so it's perfect it's absolutely uh imperative that you get the right shade of foundation and concealer for that reason okay so here we go with a little bit of the fun now i'm going to use the cream contour stick just to give a little bit of warmth not so much to contour my face but to give that warmth that healthy look to the skin rather than that flat one-dimensional look you can get with just a foundation so i'm putting a little bit on my forehead area here okay so this is our wind-up biodegradable contour stick it's a super popular product this one now i'm going to actually use this as a little bit of a blush and contour in one it's more of a bronzy color this one so yes it contours but it's quite warm so it does give a good bronze as well now if you've got more of a narrow face like me the tricky is to just keep in line with the top of your ear and pop it here okay so again top of the ear just along here now if you were to go down here you're wanting to create more cheek bone that's fine you would just follow this area here make this area darker which makes this part of your cheekbone look bigger okay but if you've already got quite a drawn face like myself or your face is quite thin then move that up to the cheekbone area so what that will do is we'll just give width to the face and it will make the face look a little bit wider and less drawn so popping it down here will make the cheekbones stand out it'll give you obviously more structure more cheekbones great if you've got a wider face but for those of us with a thinner face just move that up a little bit just here now if you've got a really strong jawline you could pop a little bit on the jaw as well you could pop some on the side of the nose if you wanted to but i'm just going to keep this really simple it's all about healthy looking skin today so all i'm using now is the back of the complexion blender so this is the fatter end now for concealing if you wanted to blend you could use this corner so it just gets right into these areas here so again just going back over the concealer just to show you using the pointy end it's perfect for blending concealer or you know the corners of the nose so that's the corner that tight end here the fatter end is perfect for blending your contour creams cream foundation and i'm just using a dabbing motion and i'm blending dabbing and blending up so you can see a little bit goes a really long way and that's just given such a nice bit of warmth to the skin without having that one dimensional look as i mentioned before again i'm blending i'm dabbing and i'm blending upwards into the hairline if you've got blonde hair you just want to be a little bit careful you don't take this into the head you want to stain your beautiful lighter colored hair for those of us that are a bit darker you of course can just blend away um but you might want to hold your hand like this if you've got fair hair just to protect the hairs and blend this way so just moving the hand along like that okay perfect that's so nice and chewy really happy with that now you might just want to leave it there and do your eyes that's completely fine but i just like to have a little bit of color on my cheeks that's different too obviously the bronzing so for this i'm going to use the gorgeous summer cream it's so delicious now you could of course use your complexion blender and just dab it in like that which is exactly what i'm going to do you may have one of our blush brushes you could also use a blush brush as well just pinching it rolling it around like that and applying it and of course you can just use your fingers and dab them on the apples of the cheeks so i'm going to use the complexion blender for this here if you do love using a complexion blender you might find that two is better than one so one you can use for your skin tone colors so your foundations contours possibly or foundations and concealers and then you might want to use a second one for your color so blush etc now i like to pop my blush right up blending it right up into the temple area because it gives it just a natural face lift and of course you can use the tip if you're wanting to just not add more color but blend away underneath if you've gone too far down okay so that's the blush now if you wanted to you could put your eliminating palette out on now to get even more dewy or you could use the loose highlighter completely up to you i'm going to give my eyebrows a little bit of a brush and get started on my eyes curling the lashes okay and for the eyeshadow today i'm going to be using the color charity okay so this is a really beautiful color just pick one of the flat brushes that you've got and i'm going to apply this in a wash now a wash just simply means color all over the eyelid blend it up onto the brow bone so your more neutral colors or your lighter colors are really easy to use for this particular technique just get any excess you don't need much on and it's pressing it onto the skin so not swiping it wiping it like this is just going to get the product everywhere you want to deliver the product to the skin by pressing it on in quick motion like this and then if you're wanting to blend that's when you can use more of that sweeping motion so i'm just doing a wash where i'm following it out to my brow edge of my brow just to give a nice lift to the eye this charity color is so divine it's a really nice dark peachy salmon color it's actually a really pretty lip color as well you can pop it on your lips and then pop a gloss over the top and it's also a gorgeous nail polish color you just need to dip in a clear nail lacquer and apply it straight to the nails and it's gorgeous okay a quick check i've applied that evenly perfect now i always like to have the round dome brush so you might want to look at one of these from the 15 piece brush kit um the biggest one is my preference and i like to use that just to blend the top part of the blush into that brow bone area so there's no actual defined line i like it to be really nicely blended now a little tip if you do suffer from concealer moving or your mascara smudging or eyeliner just grab a little bit of the setting powder onto the same blending brush and apply it underneath the bottom lash line this will help set your concealer and i like to put it in the corners as well as i get a little bit weepy that'll help lock that down now if you do like the dewy look but you prefer your t-zone to not be so dewy prefer more of a matte finish you could definitely use the setting powder over the top of your t-zone that's completely fine that'll help set that down okay so now i'm going to pop on the lash primer okay and now i'm popping on the black halo lashes mascara okay so if you end up getting a little bit of makeup there just grab a cotton tip if you've got a bit of your mascara just gently blend it outwards and you should be able to remove that pretty quickly your dawn mascara is pretty easy to remove if you make a mistake like that on the skin perfect so you can see by using the curler the lash primer it's really made a significant difference to the lash the lift of the lash now i'm just putting a little bit of mascara on the bottom lashes you can of course of course skip that step all together if you do find mascara smudges for you maybe opt for the waterproof mascara or instead of putting mascara at the bottom use a loose mineral eyeshadow or brow dust instead to get that definition okay so here's some of the fun this is the beautiful new coral lip liner okay so i'm popping that on and then the gorgeous briny brights lipstick so here we go do a little tip is using your chin just to balance your little finger on and just make sure that you've got the same height you can always adjust if you've got a flatter side of the lip with the lip liner now i've got a natural white sort of line around my lip line and so i tend to put the lip liner onto that just to give a little bit of um extra pout but not apply too much now you could lip line your whole mouth if you really wanted to but the brights by bryony lipsticks do stay on for quite a long time and i don't feel that i need to do that so here's the gorgeous brights by briny it's a super rich looking bright bright bright coral which i love absolutely perfect now if you wanted to even ramp this up even more you could put one of the glosses over the top or our soothing barrier balm to make it really plump looking i'm going to finish off with a little bit of a spritz of rose water beautiful just for that extra dewiness and there you have my summer glowy dewy healthy looking look but it also is protecting my skin because i've got the spf 20 plus on so i know that my skin's getting protection as well as looking super gorgeous